Science has definitely ruled this year’s Christmas. Since
I’ve recently gained a few Scientifically nutty friends, I thought I would make
a blog about some of this year’s gifts. This is going to take a few posts.
For Brother: A Heat Swirl Stick
This idea came from Mr. Wizard. (Thank you Steve Spangler for mentioning this great TV scientist of yesteryear.) Hold this near any heat source and the rising warm air will
twirl it.
First I duct taped three pencils together.

Then I put a needle in the eraser and secured it with glue.

I cut a paper plate into a swirl, and had my son decorate
it with markers.
Then I glued a thimble to the center.

To play: Place the thimble on top of the needle. Hold the
stick near a heat source, like a space heater (but not too near). The swirl
will begin to turn.

Recap: You need
duct tape, three unsharpened pencils, a needle, glue, a paper plate, crayons or
markers, a thimble, and a heat source (a space heater or a vent works well).
For Sister: Packing
Peanuts Sculpture

I saw this at Big!Lots. I’d saved “ghost poop” from
a shipped box.
When I found out you could wet dampen them and stick them together, I knew I had a great gift idea.
When I found out you could wet dampen them and stick them together, I knew I had a great gift idea.
First we colored our white peanuts with permanent marker.
Then we planned out our sculpture.
Finally with a small bowl of water, we stuck our creation
together.
Recap: You need
packing peanuts (ghost poop kind), permanent marker (or get colored ones), and
water.
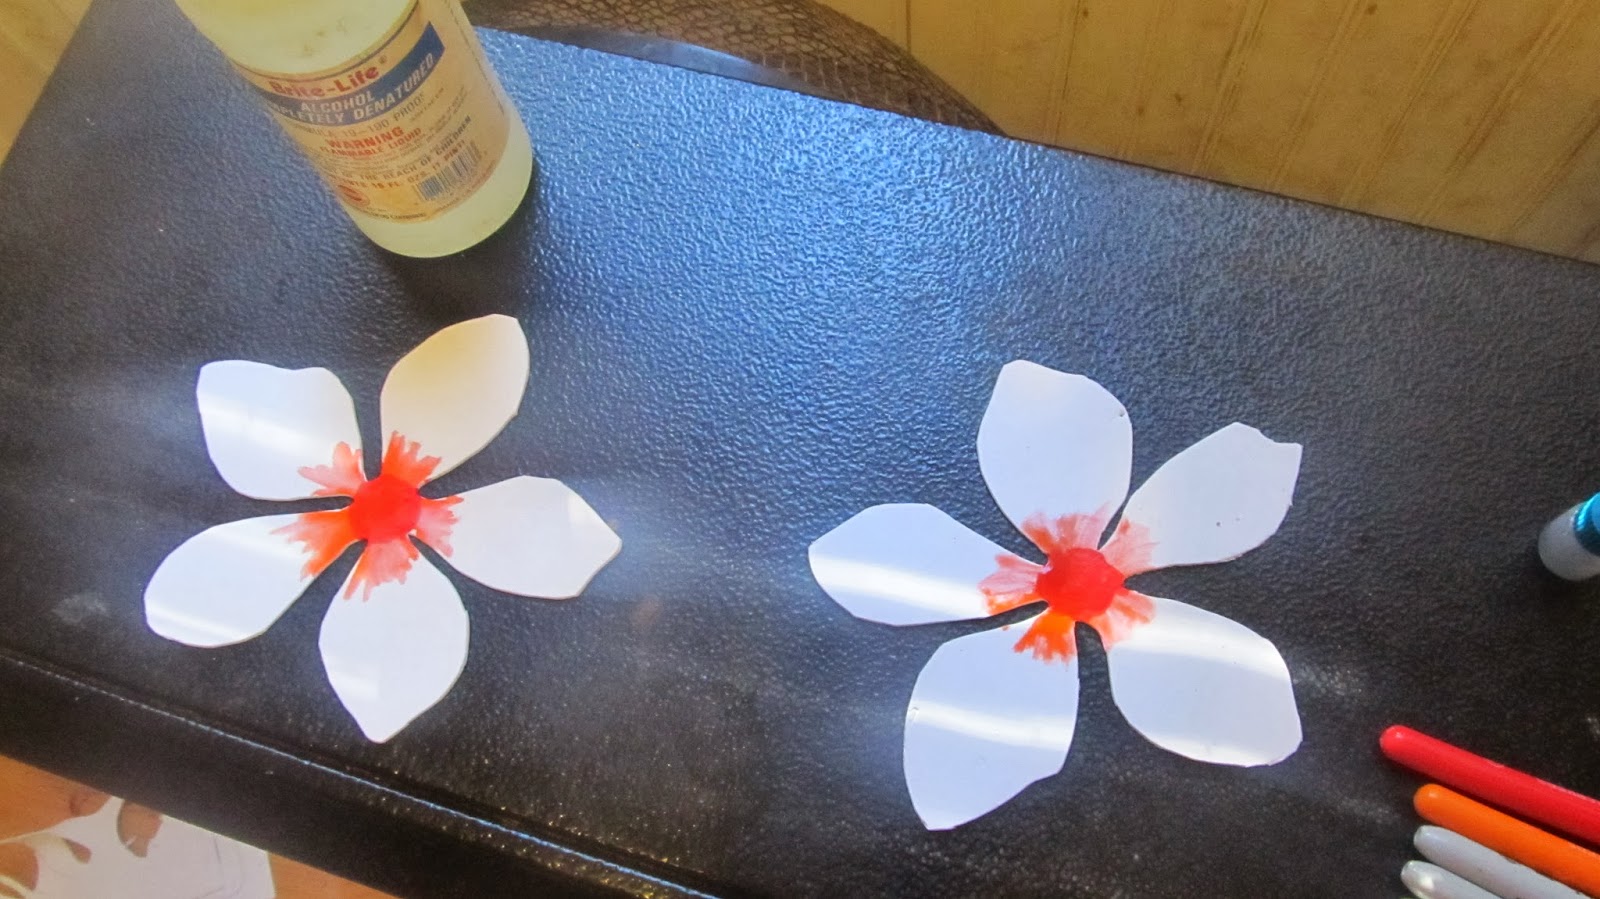
For Mom: Photo Flowers

The photo flowers use a tie dye concept. That’s pretty much where
the science ends, but not the math.
First I printed up this pattern (made from an outline of a
picture tube on my Corel photo shop program). I sized the pattern to fit on a
half-sheet.

I cut two fun foam flowers. (I asked my kids, "How many flowers can you fit on
one piece of fun foam?")
 With a permanent marker, I drew a dot.
Now the Science: I used rubbing alcohol from an empty food
coloring dropper to spread the marker. Don’t worry about going too far on the
petals. I went about a fourth of the way up. This tie dye effect makes the
flower look tropical.

 Then I glued the fun foam flowers together in the center.
Next, I cut a small photo of my child into a circle. The
circle is about the size of a soda bottle cap. I glued the photo to the center. You may decide it doesn’t
need a photo, and skip this all together.
The flower was looking pretty good already, but I wasn’t
done. It needed a stem.

The stem is made of wire covered in floral tape, and glued to the flower.
To finish it off, I glued a small piece of green
construction paper on the center.
Recap: You need fun foam, glue, floral tape, green construction paper, wire, rubbing alcohol, a dropper, permanent marker, scissors, pencil and card stock (for the pattern).
Note: I used hot glue for these crafts, but you may find that another type of glue works better.
No comments:
Post a Comment